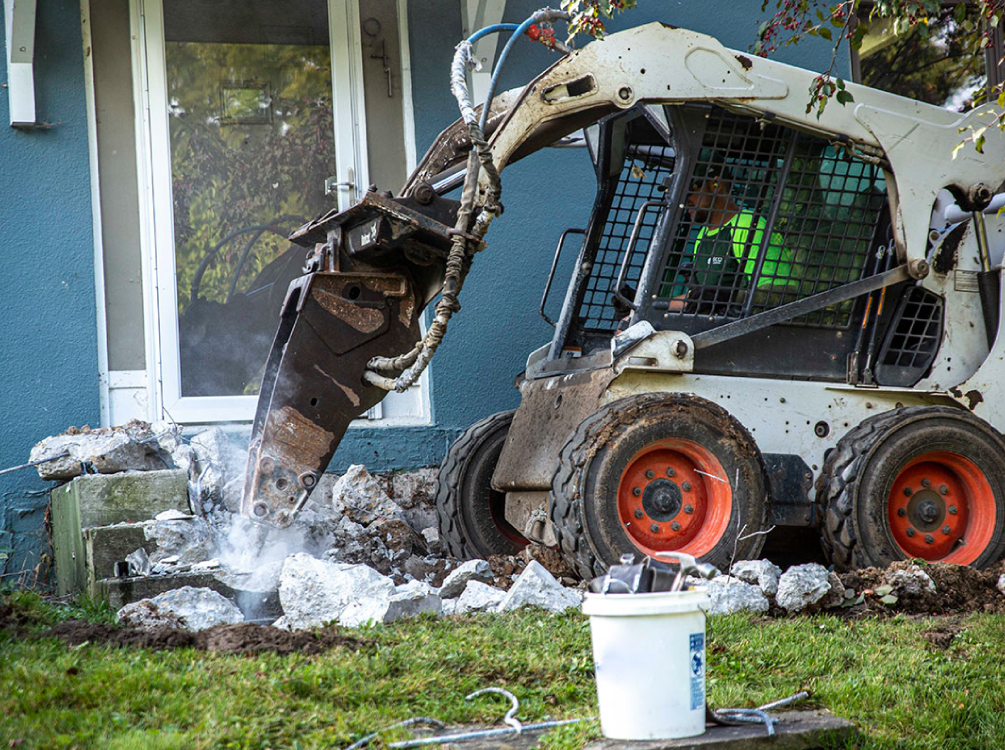
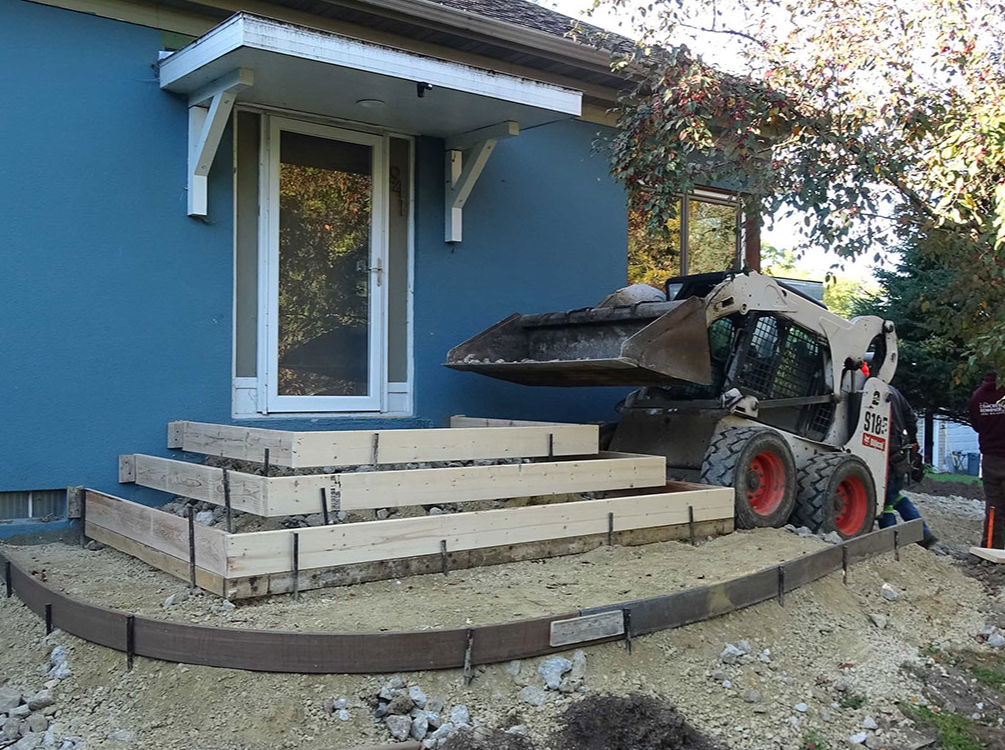
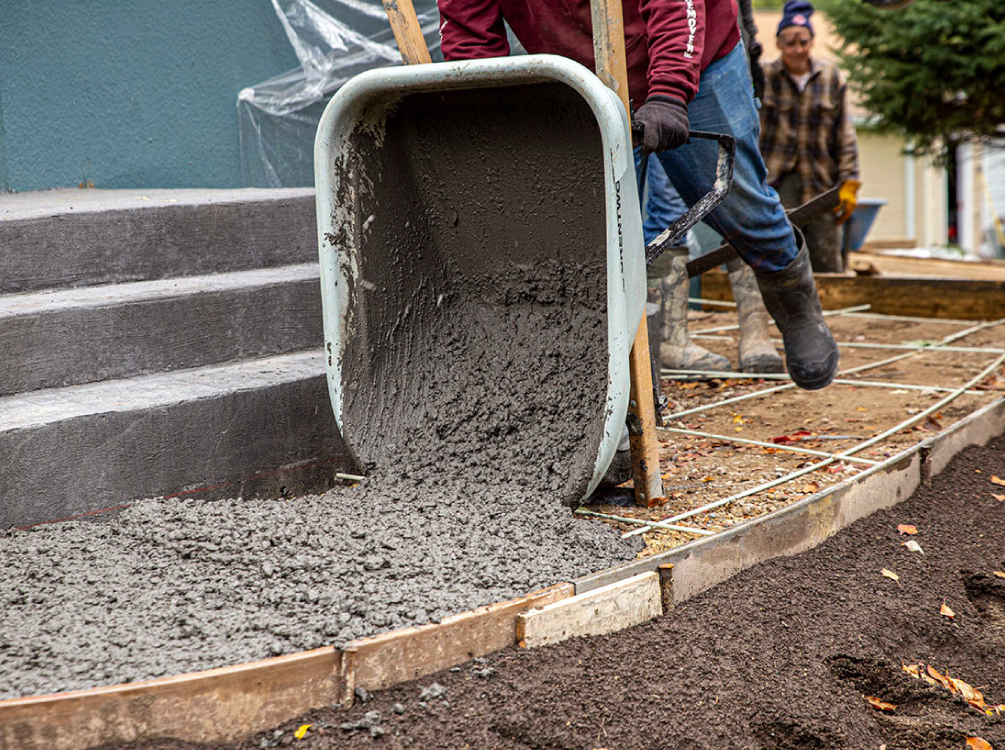
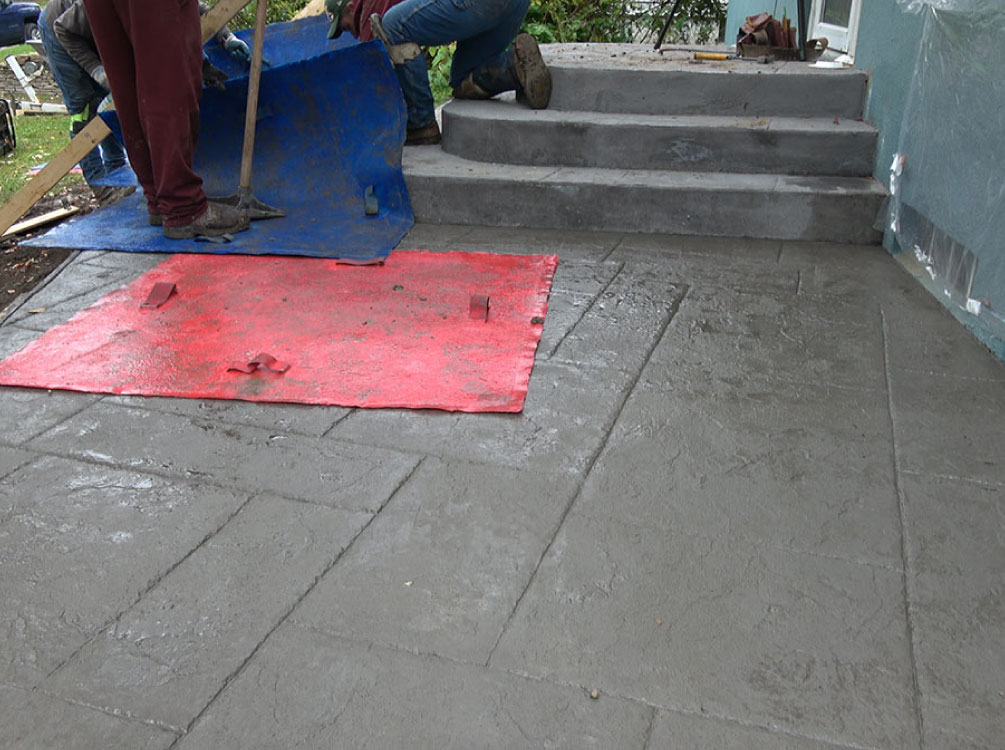
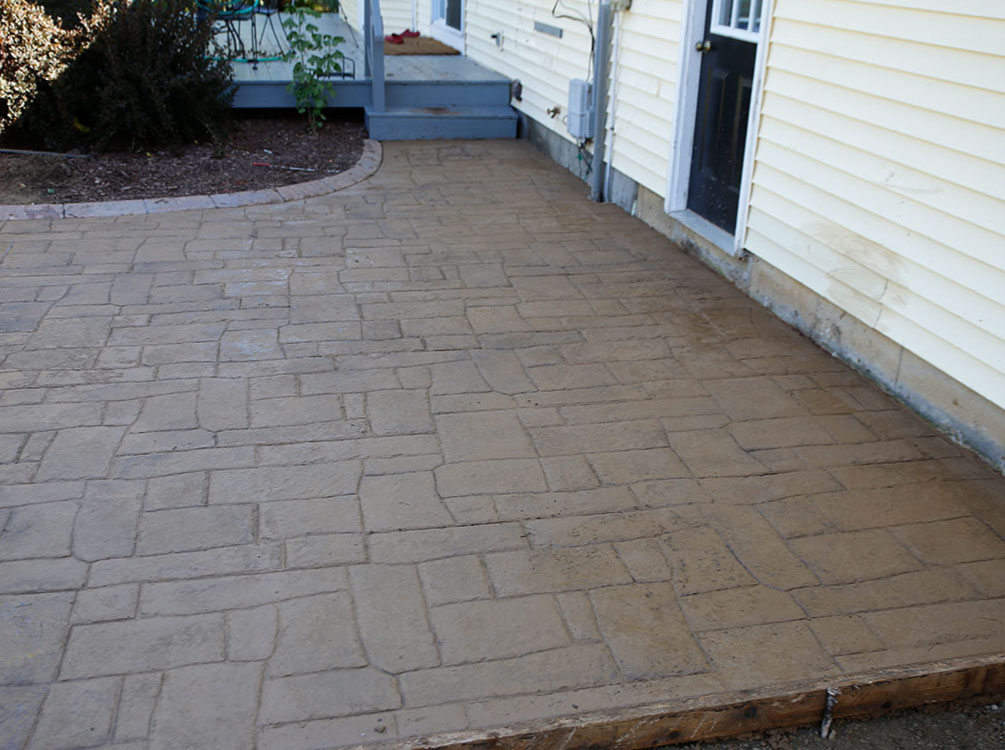
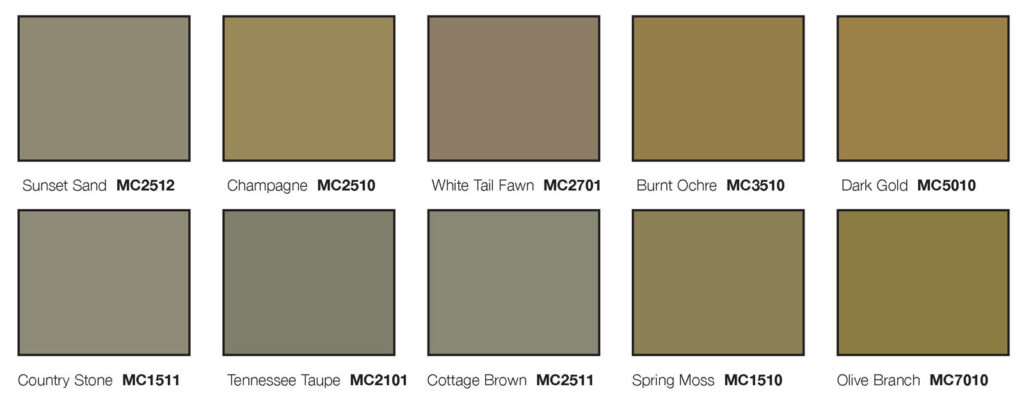
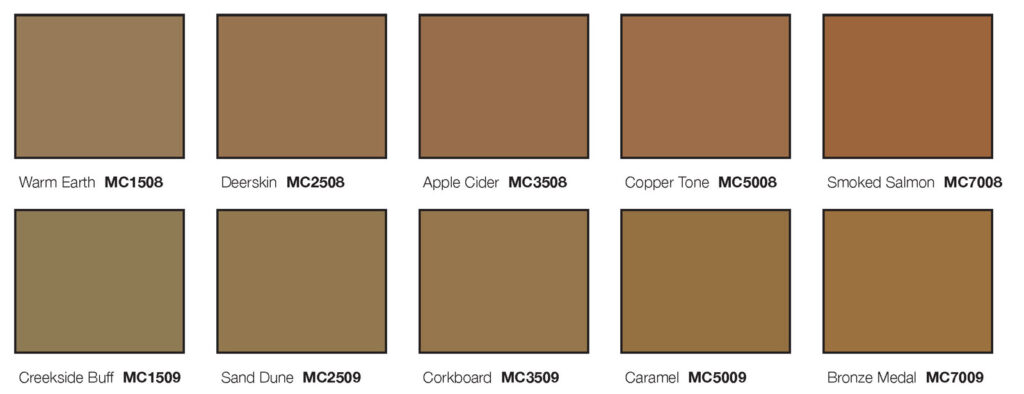
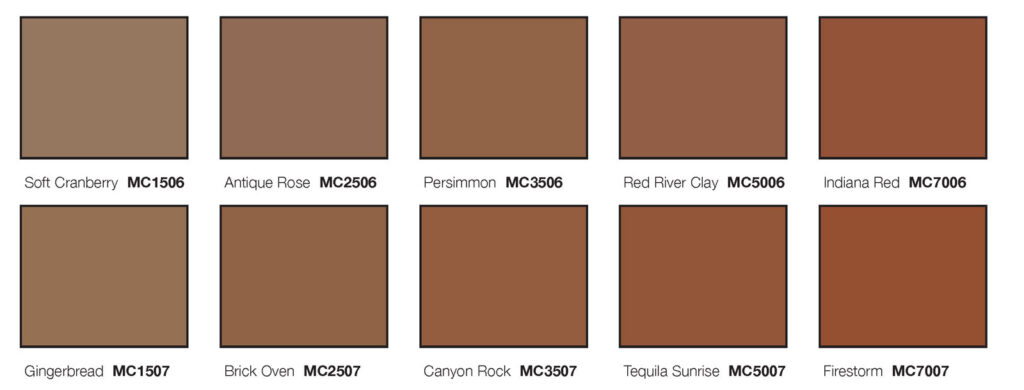
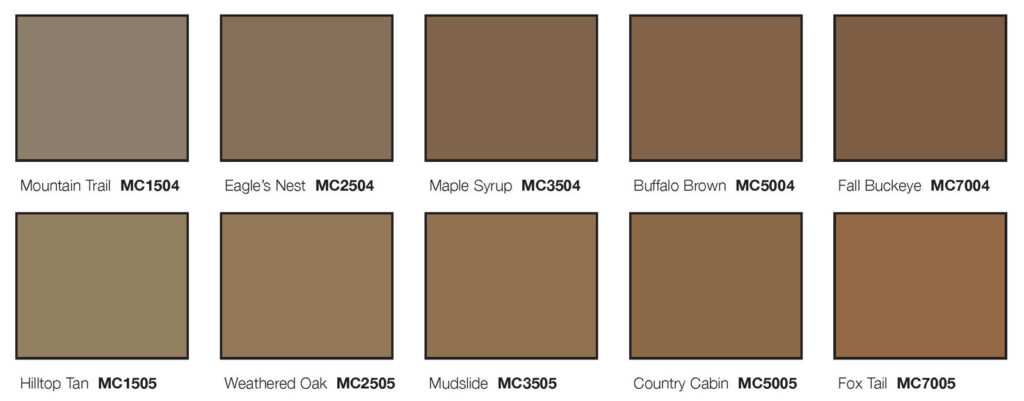
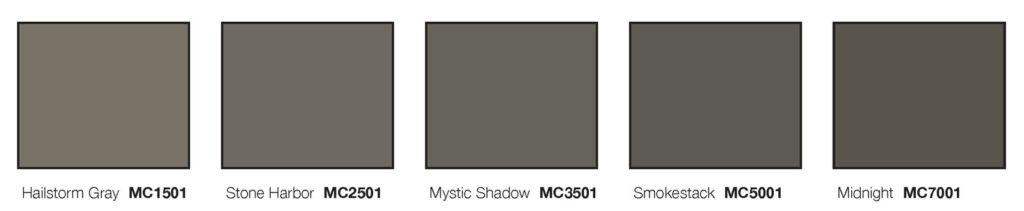
Stamped Concrete

Stamped concrete, often called textured or imprinted concrete, replicates stones, such as slate and flagstone, tile, brick, and even wood. The wide variety of patterns and color choices make it popular for beautifying patios, pool decks, driveways, and more. When you stamp concrete, you will usually either stain or color your concrete to fill the deep grooves and contours. Additionally, it’s an affordable paving option that requires less maintenance than other materials.

Styles of Stamped Concrete

The stamping process uses rubber stamps or texturizing mats to imprint a pattern into wet cement. There are also ways to apply it over existing concrete if your slab is in good shape. These stamps are often designed from molds of the real material to get the appropriate texture. They can make your concrete resemble brick, cobblestone, slate, wood planks, and more. You’re even able to add large medallions and other custom accents to a concrete slab.

  • Stamps can be applied vertically as well as horizontally, which makes them good for much more than flooring. For instance, you can give an outdoor concrete fireplace surround a natural stone treatment. Or you can make a concrete retaining wall look like brick.
  • Stamped concrete inside your home can be both a practical and attractive finish. A popular option is to stamp a concrete basement floor to make it look like wood. Stamped concrete that resembles tile is also a durable option for the kitchen.

How It Works

1. Removal/Clearing

After we review the site with you, we begin by removing any existing concrete or asphalt, trees or shrubs, and anything else in the way of the planned section.

2. Preparation

We prepare the site by mapping out our agreed plans on the ground in the area to be worked on. Next, the site is treated with several layers of grading gravel that gets compacted and leveled. We then place forms and rebar for concrete reinforcement. Now the site is ready for concrete.

3. Pour Concrete

The concrete is poured into the forms, ensuring precise alignment and uniformity. The process requires skill and attention to detail to prevent air pockets, achieve proper compaction, and create a sturdy and smooth surface. Once poured, the concrete must be leveled and prepared for the chosen colors and pattern of stamps to be used. Water may be sprayed to the surface to ensure the concrete is ready.

4. Coloring

This is a very crucial step in the process. Color can be added before the concrete is poured for a more uniform color throughout. It can also be added to the surface of the poured concrete, along with a release agent to prevent the stamps from sticking to the concrete in the next step.

5. Apply the Chosen Stamps

After the color and release agent have been added, the concrete can now get its final appearance from the pre-chosen stamp design. The stamps are laid out on the surface, while workers pound the pattern into the concrete. This step is repeated across the planned area. The concrete is then rinsed off to show its new surface.

6. Finish Concrete

To add to the life of your new stone, brick, or wood patterned stamped concrete, a sealant is applied. Sealing is essential for decorative stamped concrete. It enhances color, adds surface sheen (satin to high gloss), prevents discoloration from efflorescence, and blocks stains. You (and your family and friends) will enjoy your new outdoor area for years to come!

Concrete Patio Testimonial

Have a question about concrete services?

We care for the environment in general and we saw an opportunity, in one of the most carbon intensive industries, to make a difference.